
Top rope climbing is a thrilling and accessible way to enjoy both indoor and outdoor rock climbing. However, setting up a safe and reliable top rope anchor is critical to ensuring climber safety and success.
According to the American Alpine Club’s 2023 Accidents in North American Climbing report, over 30% of climbing incidents are linked to anchor failures or improper setups. This comprehensive guide walks you through everything you need to know about building a secure top rope anchor, from essential gear and SERENE principles to step-by-step instructions, common mistakes, and advanced techniques.
Whether you’re a beginner or an experienced climber, mastering anchor setup is non-negotiable. Let’s dive into the process to help you climb confidently and safely.
What Is a Top Rope Anchor in Rock Climbing?
A top rope anchor is a fixed system at the top of a climbing route that secures the climbing rope. The rope runs from the climber, through the anchor, and back down to the belayer, providing a safe setup that minimizes the impact of falls. Understanding its components is the first step to building a reliable system.
Key Components of a Top Rope Anchor
- Anchor Points: Natural features (trees, boulders) or artificial fixtures (bolts, pitons).
- Connecting Materials: Slings, static ropes, or cordelettes to link anchor points.
- Attachment Hardware: Locking carabiners, quickdraws, or chains to create a master point.
Always choose anchor points that are bombproof—capable of withstanding significant force without shifting or failing.
Essential Gear for Building a Top Rope Anchor
Having the right equipment is crucial for a secure anchor system. Below is a detailed checklist of gear, along with recommendations for quality and inspection.
Top Rope Anchor Gear Checklist
- Cordelette: 5.5–7 meters of 7mm nylon cord for equalization and redundancy.
- Locking Carabiners: 2–4 pear-shaped, auto-locking carabiners (e.g., Petzl Attache).
- Static Rope or Webbing: 10mm static rope or 1-inch tubular webbing for durability.
- Slings: Double-length (120cm) slings for flexibility in setup.
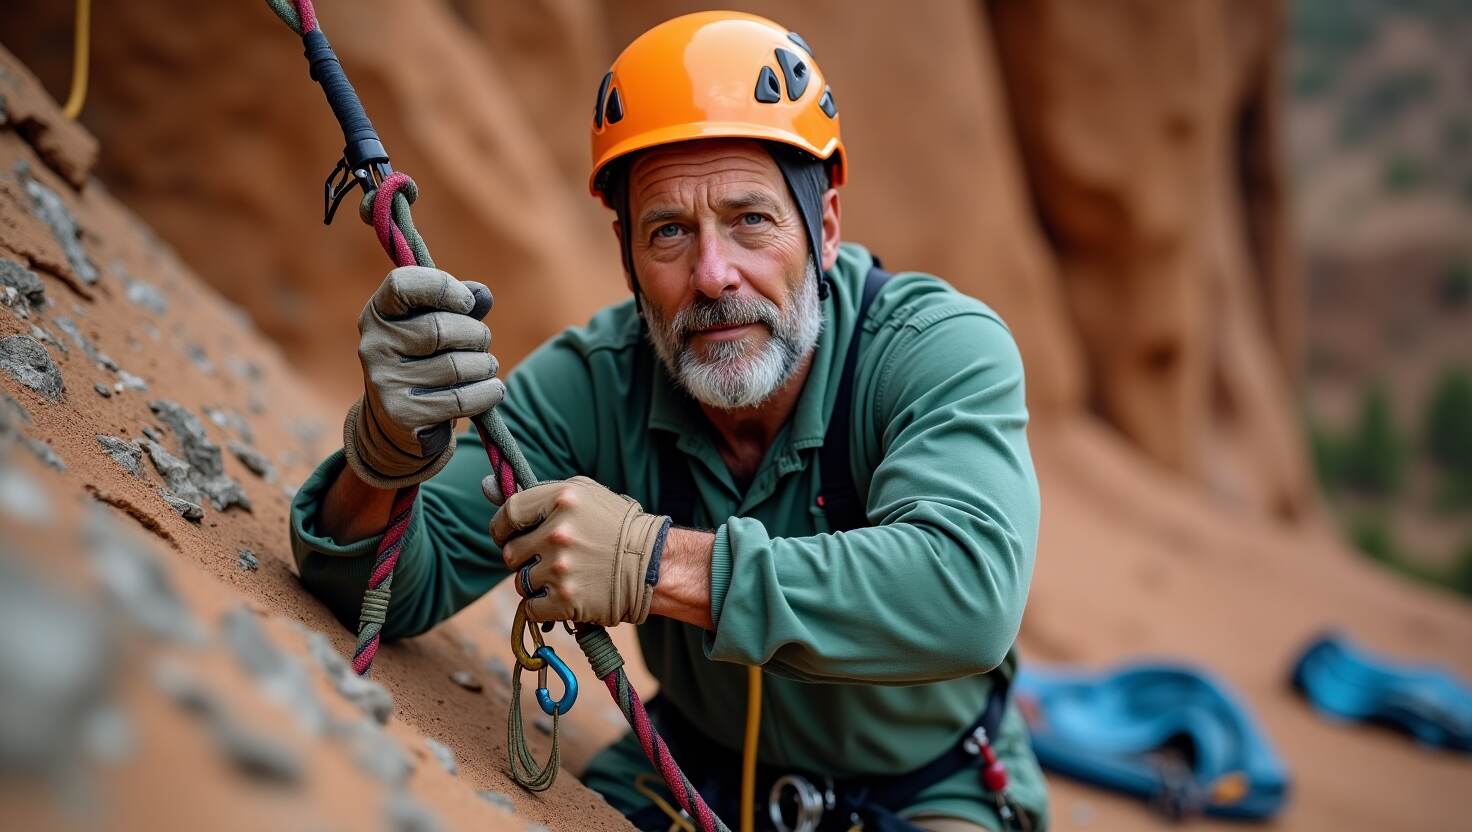
- Climbing Helmet and Harness: Essential for personal safety during setup.
- Quickdraws: For connecting to fixed bolts or extending anchors.
Gear Inspection Tips
- Check for frayed ropes, worn carabiner gates, or compromised webbing stitching.
- Retire slings after 5–10 years or sooner if damaged, per Petzl’s guidelines.
- Log gear usage to track lifespan and ensure reliability.
The SERENE Principles: Your Anchor Safety Framework
The SERENE acronym is the gold standard for building a safe and efficient top rope anchor. Here’s what each letter stands for and how to apply it:
- S – Solid: Choose anchor points that are immovable, like trees with trunks over 12 inches in diameter or bomber bolts.
- E – Equalized: Distribute the load evenly across all anchor points to minimize stress on any single component.
- R – Redundant: Incorporate backup systems so the anchor holds if one point fails.
- E – Efficient: Use minimal gear and time to streamline the setup process.
- N – No Extension: Prevent the system from shifting or extending if an anchor point fails, reducing shock load.
A cordelette tied into two bolts with a figure-eight knot at the master point ensures equalization and redundancy while minimizing extension.
Step-by-Step Guide to Setting Up a Top Rope Anchor
Follow these six steps to build a secure top rope anchor, whether you’re climbing outdoors or practicing at home.
1. Evaluate the Climbing Site
- Inspect for solid anchor points like healthy trees, stable boulders, or fixed bolts.
- Avoid loose rocks, dead trees, or rusty, corroded bolts.
- Consider the direction of pull to align the anchor with the climbing route.
2. Select Your Anchor Points
- Use at least two independent anchor points for redundancy.
- Space points 1–2 meters apart to facilitate equalization.
- Example: Two bolts on a sport crag or a tree paired with a boulder.
3. Construct the Anchor System
- Using a Cordelette:
- Clip the cordelette to each anchor point with locking carabiners.
- Pull the strands downward to form a “V” shape.
- Tie an overhand or figure-eight knot to create a master point.
- Using Slings or Webbing:
- Wrap slings around natural features or clip to bolts.
- Connect slings at a master point with a locking carabiner.
- Use a sliding X configuration for dynamic equalization if needed.
4. Equalize the Load
- Adjust the cordelette or slings so each anchor point bears equal force.
- Test by pulling on the master point to ensure balanced tension.
- Use a quad anchor for three-point setups to enhance equalization.
5. Ensure Redundancy and No Extension
- Add backup slings or carabiners to critical components.
- Tie limiting knots (e.g., overhand) to prevent extension if an anchor fails.
- Use static materials to minimize stretch under load.
6. Perform a Final Safety Check
- Pull-test the system with body weight to confirm stability.
- Verify knots are dressed, carabiners are locked, and the setup is symmetrical.
- Have a climbing partner double-check your work.
Common Top Rope Anchor Mistakes and How to Avoid Them
Even experienced climbers can make errors. Here are five common mistakes and how to prevent them:
- Using a Single Anchor Point: Always use at least two points for redundancy. Example: Pair a tree with a bolt.
- Misaligning the Direction of Pull: Ensure the anchor aligns with the rope’s path to avoid lateral stress.
- Using Dynamic Rope in Anchors: Stick to static ropes or webbing to prevent stretch. Dynamic ropes are for climbing, not anchoring.
- Poor Equalization: Adjust slings or cordelette to distribute load evenly, reducing strain on individual points.
- Skipping Safety Checks: Always inspect knots, carabiners, and anchor points before climbing.
In 2022, a climbing accident in Yosemite was attributed to a single-point anchor failure. Redundancy could have prevented the incident.
Gym vs. Outdoor Top Rope Anchor Setup: Key Differences
Transitioning from indoor to outdoor climbing requires understanding the differences in anchor setup.
Indoor Gym Anchors
- Setup: Pre-installed fixed anchors, often bolts or chains.
- Gear Needed: Minimal—just a rope and quickdraws for threading.
- Focus: Proper rope management and belay safety checks.
- Example: Thread the rope through two carabiners at the top of a gym route.
Outdoor Anchors
- Setup: Requires building anchors using natural features or bolts.
- Gear Needed: Full anchor kit (cordelette, slings, carabiners).
- Challenges: Terrain assessment, environmental impact, and anchor physics.
- Environmental Tip: Use tree savers to protect bark and follow Leave No Trace principles.
Essential Climbing Knots for Top Rope Anchors
Knots are the backbone of a secure anchor system. Master these four knots for versatility and safety:
- Figure-Eight on a Bight: Creates a strong, secure loop for master points. Easy to untie after loading.
- Clove Hitch: Adjustable knot for attaching cords to carabiners. Ideal for fine-tuning equalization.
- Double Fisherman’s Knot: Joins two cord ends for a cordelette loop. High strength but hard to untie.
- Overhand Knot: Simple knot for master points or backups. Use with a long tail for safety.
Tie knots on the ground until you can do them blindfolded. Speed and accuracy matter in real-world setups.
Safety Checks and Gear Maintenance for Top Rope Anchors
Regular inspections and maintenance extend gear life and ensure safety.
Anchor Inspection Checklist
- Confirm anchor points are stable and free of damage.
- Inspect carabiners for wear, cracks, or sticky gates.
- Check slings and cords for abrasion, cuts, or UV damage.
- Ensure knots are properly tied, dressed, and tightened.
Gear Maintenance Tips
- Storage: Keep gear in a cool, dry place away from sunlight.
- Cleaning: Wash slings and ropes with mild soap and water; air dry.
- Retirement: Replace slings after 5–10 years, carabiners after significant wear, or immediately if dropped from height.
- Usage Log: Track gear use to monitor wear and tear.
Petzl recommends retiring soft goods (slings, ropes) after 10 years, even if unused, due to material degradation.
Advanced Top Rope Anchor Techniques for Experienced Climbers
Once you’ve mastered the basics, explore these advanced methods to tackle complex setups:
- Multipoint Anchors: Use three or more points for questionable terrain. Example: Combine two bolts and a tree for extra security.
- Quad Anchor: A four-strand cordelette setup for dynamic equalization and redundancy. Ideal for sport crags with fixed bolts.
- Natural Feature Integration: Incorporate horns, chockstones, or threaded boulders, but always back them up with artificial anchors.
Warning: Practice advanced techniques under the guidance of a certified instructor to avoid errors.
Eco-Friendly Top Rope Anchor Practices
Minimize your environmental impact while setting up anchors:
- Use tree savers or padded slings to protect tree bark.
- Remove all gear, including chalk and tape, to adhere to Leave No Trace principles.
- Avoid damaging fragile rock or vegetation during setup.
- Choose established routes to reduce wear on new crags.
The Access Fund reports that improper anchor placement can erode crags, impacting climbing access. Responsible practices preserve climbing areas.
Conclusion: Master Your Top Rope Anchor for Safe Climbing
Setting up a top rope anchor is a critical skill that blends technical expertise with safety awareness. By adhering to the SERENE principles, using high-quality gear, and performing thorough safety checks, you can create a bombproof system that lets you focus on the joy of climbing. Start by practicing setups on the ground, consult with experienced climbers, or enroll in a climbing safety course to build your skills.
Share your anchor-building tips in the comments or join a local climbing community to learn hands-on. Climb safe, climb smart!